Welcome back to our Dev Diary series, where we give you a more in-depth look at all the features you can expect from our game as we get closer to release. Today’s topic is Class playstyles.
We can’t possibly cover every playstyle in this Dev Diary, there are nearly endless possibilities! However, we’ll do our best to give you a solid foundation for understanding the basics.
A Class’s core playstyle in Mandragora is shaped by three key elements: your Weapon and Off-hand Item combination, its Special Ability, and the Active Skills you choose to equip.
In our second Dev Diary, we introduced the Vanguard Class and touched on its flexibility with three distinct Weapon Setups. Each offers a different starting playstyle based on the weapons you wield:
- 1H Weapon + Light Shield
- 1H Weapon + Tower Shield
- 2H Weapon (Greathammer or Greatsword)
Each of these Weapon and Off-hand Item combinations forms your Weapon Set. What’s more, your Off-hand Item (like Shields or 2H Weapons) comes with its own Special Ability that can be used while equipped, adding even more variety to your combat options.
Don’t forget: your playstyle is also shaped by your Active Skills, which are crucial to your strategy. Selecting the right ones for your build is key to maximizing your potential.
To help you to better understand how these elements work together, this Dev Diary dives deeper into playstyles using the Vanguard Class as our first example. Let’s take a closer look!
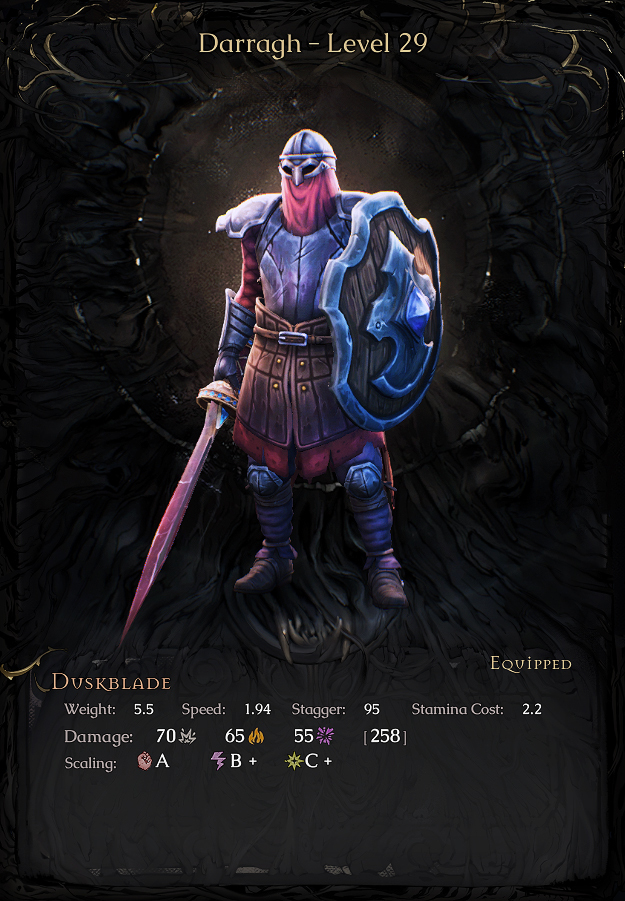
Vanguard Playstyles
Let’s start with the basics of the Vanguard Class. The Vanguard is a melee-focused Class that specializes in Heavy Armor, excelling with Shields or 2-Handed Weapons.
The Vanguard relies on two primary resources: Adrenaline and Stamina.
- Adrenaline is generated through Light or Heavy Attacks and certain Talents, which we covered in our second Dev Diary. It serves as the primary fuel for most Combat Skills (a subcategory of Active Skills) though basic Light and Heavy Attacks do not consume Adrenaline. It also decays slowly outside of combat.
- Stamina is a fast-regenerating resource critical to executing Combat Skills, as well as specific movement and evasive actions like Roll or Evade. Running out of Stamina temporarily limits your ability to attack or dodge, leaving you vulnerable until enough Stamina regenerates.

Let’s dive into some of the Active Skills available to the Vanguard, and while the numbers below aren’t final, they should give you a good sense of what to expect.
- Enrage: Enter a barbaric trance, increasing your Physical Damage by 15% while also taking 15% more damage.
- Heavy Attack: Charge up a devastating blow that deals up to 300% Weapon Damage and generates 40 Adrenaline, depending on the charge time.
- Uppercut: Unleash all your stored Adrenaline to deliver a powerful attack, dealing 120% Weapon Damage and applying Bleed. The more Adrenaline you spend, the longer the Bleed effect lasts.
- Whirlwind (requires any 2H Weapon): Spin into a continuous whirlwind of cleaving attacks, dealing 25% Weapon Damage per second to all nearby enemies while slowly moving forward.
- Shield Charge (requires any Shield): Charge forward with your shield, delivering a bash that deals 150% Shield Damage and applies Stagger to the first enemy you hit.
- Defend (requires any Shield): Raise your shield to block incoming attacks, reducing damage at the cost of Stamina. Heavier shields block more damage and drain less Stamina.
With the Vanguard’s resources and Active Skills covered, it’s time to explore Weapon Setups and how they can shape your playstyle.
1H Weapon + Light Shield
With this Weapon Set, you gain access to an additional Special Ability that can protect you from enemy attacks:
- Parry: Parry melee attacks and physical projectiles with precise timing. Successfully Parrying a melee attack will damage and Stagger the attacker, while parried projectiles are deflected instead.
While you can also Defend with a Light Shield, Parrying is often the better choice as it is more Stamina-efficient, but it requires precise timing to pull off successfully!
This Weapon Set is perfect for those who prefer a fast, dynamic playstyle that emphasizes quick reactions and adaptability to enemy movements.
1H Weapon + Tower Shield
With this setup, you can Defend against enemy attacks effectively, Stagger larger enemies using Shield Charge, and take advantage of the Tower Shield’s unique Special Ability:
- Inner Strength: Using Adrenaline charges your shield. Once fully charged, you can unleash its stored energy to deal Physical Damage to enemies in front of you.
A sturdy Tower Shield is the perfect choice if you favor a more cautious and methodical approach to combat. This setup enables you to control the flow of battle, taking the initiative rather than simply reacting to your opponent’s moves.
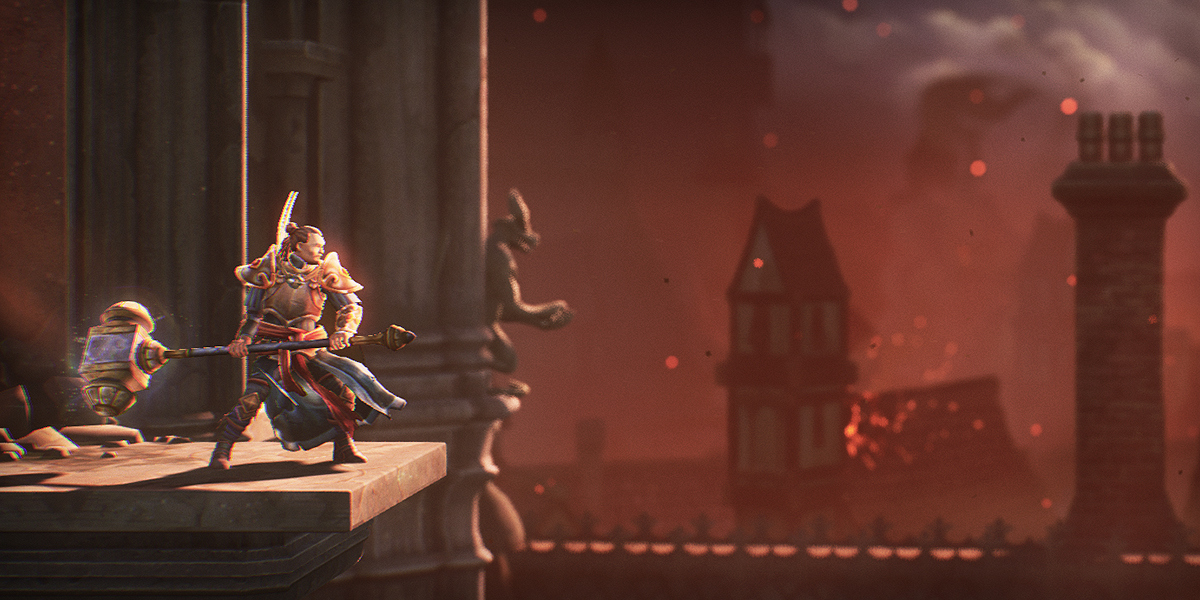
2H Weapon
Greathammers and Greatswords offer raw power at the cost of speed. Their attack range, damage output, and stagger potential are significantly greater than those of 1H Weapons, but mastering them requires careful timing and positioning to maximize their impact.
When wielding 2H Weapons, you gain access to their unique Special Ability that charges them up when using Adrenaline:
- Resonance: As you use Adrenaline, your weapon charges up. Once activated, each successful hit generates radial shockwaves that ripple out from the point of impact, damaging all enemies caught in the radius.
While all 1H Weapon Active Skills remain available to you, switching to a 2H Weapon means sacrificing shield abilities. However, this trade-off is balanced by exclusive 2H Weapon Active Skills including Whirlwind, which creates a continuous whirlwind of cleaving attacks around you.
2H Weapons also unlock unique and powerful new Active Skills based on the type of weapon you wield:
- Impale & Execute (Greatsword): Stab forward with your Greatsword, dealing 120% Weapon Damage. Reactivate the skill to consume all Adrenaline for a follow-up strike, with bonus damage based on the amount of Adrenaline spent.
- Sunder (Greathammer): Leap into the air and bring your Greathammer crashing down, dealing 140% Weapon Damage to enemies in front of you and sending a shockwave forward that delivers an additional 110% Weapon Damage.
Although the 2H Weapon Set forgoes the defensive advantages of a shield, its high-risk, high-reward playstyle lets you dominate from a larger attack range and stagger even the toughest enemies.
Switching Playstyles
Weapon Sets
Your equipped Weapon and Off-hand Item together form your Weapon Set, for example, a 1H Sword paired with a Shield.
As you progress through your journey, you’ll come across an array of powerful and unique weapons and shields. Choosing the perfect combination for each battle might seem daunting, but you don’t have to limit yourself. You can create two Weapon Sets and switch between them on the fly, even in the heat of combat!
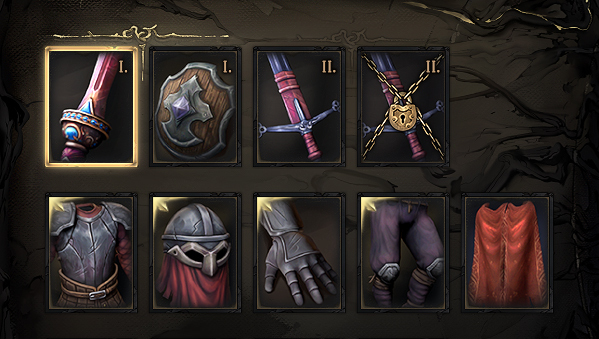
With two Weapon Sets at your disposal, you can freely choose which to use based on the current challenge. For example, with a 1H Weapon and Shield in one set and a 2H Weapon in the other, you could:
- Open with a 2H Heavy Attack to deal damage to an approaching enemy, then switch to your 1H Weapon and Shield to Defend and Parry their counterattacks…
- …or begin a fight against a Boss with the defensive strength of a 1H Weapon and Shield, then switch to your 2H Weapon and unleash Uppercut to apply a huge Bleed effect on the Boss!
Active Skill Sets
When switching between weapons, you might also want to adjust your Active Skills to suit the situation. This is no problem, as you will get access to 2 Active Skill Sets, too.
What’s more, each Active Skill Set can be paired with either Weapon Set. If a combat scenario demands you to use Weapon Set 1 alongside Active Skill Set 2, you can easily make it happen!
This setup allows for up to 6 Active Skills to be available at any given time.
[IMAGE - DevDiary3_5]
If you prefer to have your Weapon Sets automatically match their corresponding Active Skill Sets, you can enable the “Combine Skill and Weapon Sets” option in the settings.
As you venture further into the game, you’ll unlock the Skill Upgrade System. This system lets you upgrade your Active Skills, either by enhancing their current effects or introducing entirely new ones.
Spellbinder Playstyles
Let’s now take a look at another Class, one that isn’t available in our public demo: the Spellbinder.
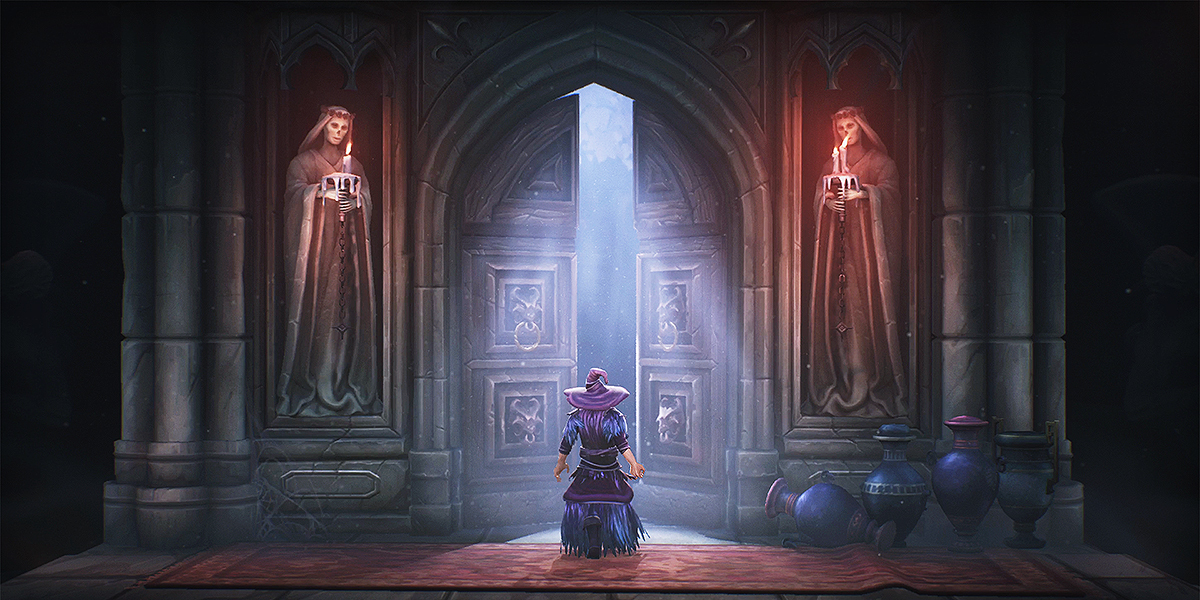
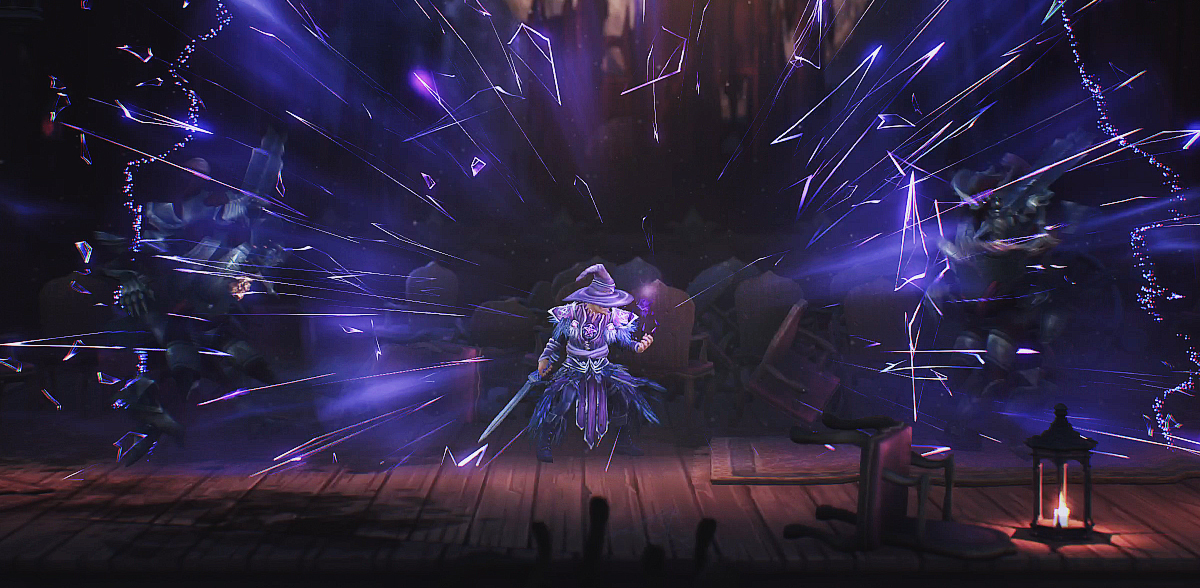
The Spellbinder is a fragile ranged caster Class that focuses on Chaos Magic. Its starting Weapon Setup is a 1H Weapon paired with a Chaos Relic in the Off-hand.
If you're wondering what exactly a Relic is and what it does: Relics are Off-hand Items that allow you to cast spells of their corresponding element. To equip a Relic, you must unlock the matching Mastery Talent in the Talent Tree, this is the Starting Node for each Class, which we discussed in more detail in Dev Diary #2.
In this case, the Chaos Relic enables you to cast Chaos Spells and has a Special Ability:
- Discharge: As you use Mana, your Relic charges up. Once it’s fully charged, you can unleash Discharge, which staggers all nearby enemies and applies the Weakness status effect.
- Weakness reduces enemy Movement Speed by 25% and increases the Chaos Damage they take by 15% for a short duration. Fun fact: Weakness is not exclusive to Relics, any Chaos Damage can apply it, depending on your Weakness Chance.
In addition to Relics, the Spellbinder’s primary resource is Mana:
- Mana is a limited resource that doesn’t regenerate on its own. You can refill Mana using various consumables, and it will also regenerate at checkpoints, also known as Witch Stones.

Spellbinders also bring a range of Active Skills to combat, which can suit nearly any playstyle you choose. Here are some examples (please note that numbers are not final):
- Chaos Beam (Starting Spell): Channel a beam of chaotic energy that deals 110 Chaos damage per second to the first enemy it hits.
- Chaos Vortex: Channel a powerful vortex that tears the air in front of you, dealing 170 Chaos damage per second to nearby enemies and pulling them toward the center.
- Splintering Sparks: Open a set of rifts in the air for 8 seconds, firing chaotic sparks at nearby enemies. Each spark deals 42 Chaos damage, and each rift can fire up to 5 sparks.
As you progress through Mandragora, you'll gain access to a much wider variety of Spells. The Active Skill Sets you choose will have a huge impact on your playstyle, allowing you to tailor your abilities to your preferred combat approach.
Now, let’s take a closer look at how this all comes together in practice!
Starting Playstyle
At first, you'll be limited by your Mana, meaning you'll need to rely on your weapon to kill enemies alongside Chaos Beam. Since you’ll be wearing Cloth Armor, it’s best to engage enemies from a distance and finish them off with your weapon. You really don’t want to get hit!
As you progress, you'll become more Mana-efficient and less reliant on weapon attacks. Eventually, you’ll be able to clear enemies and even bosses using just your Spells. To reach this stage, you’ll need to focus on learning key Spells and Talents that enhance your Mana regeneration and damage output.
Now, let’s dive into two specializations you can aim for: the full Caster build, where you nuke enemies from a distance, and the Mage Assassin playstyle, where you combine powerful spells with swift, deadly attacks. While certain Chaos Spells may be better suited for one of these styles, remember that the beauty of Mandragora lies in the ability to mix and match Spells to create your own unique playstyle!
Mage Assassin Style
This playstyle is perfect if you prefer to deal powerful bursts of magic at close range.
- Shadow Shards: Release a short-range blast of shadowy shards that deal 107 Chaos damage to enemies and push them back slightly. It also causes high Stagger.
- Dark Echo: Leave behind a shadowy echo for 10 seconds. While active, you store a portion of your Chaos damage dealt, which is released as an explosion around you when the effect ends. You can reactivate to trigger the explosion early and teleport to the location of your echo.
- Shadow Wisp: Rip a shadowy wisp from the nearest enemy, applying Weakness to the target. The wisp follows you, striking enemies with a beam of energy that deals 80 Chaos damage. The beam chains to nearby enemies affected by Weakness, dealing 20% reduced damage. The wisp has 12 charges.
With this playstyle, you'll stun your enemies in two ways: with the quick wave of spells that lead to their swift demise, and with the literal Stun effect from some of your attacks.
Full Caster Style
If you prefer to keep your distance and strike before your enemies even have a chance to retaliate, this playstyle lets you do just that, dealing ranged damage.
- Chaos Dice: Throw a bouncing die that activates on contact with an enemy, providing one of three bonuses when collected. The bonus must be collected before the die can be thrown again. The die can grant you either 1 stack of Freecast, 35 Relic Charge, or increase your Spell damage by 100% and your Mana costs by 50% for 10 seconds.
- Chaos Storm: Conjure a chaotic storm that moves forward, periodically striking up to three nearby enemies, dealing 120 Chaos damage.
- Dark Orb: Throw a bouncing orb of chaotic energy that passes through enemies and detonates after 5 seconds, dealing 150 Chaos damage in a small radius. Reactivate to detonate the orb early.
These Spells will enable you to master the art of kiting, letting you hit hard like a glass cannon while staying elusive and always one step ahead of your enemies.
Further Possibilities
Chaos Talents
Choosing the right Talents to support your Spells is a key part of customizing your playstyle as a Spellbinder. Here are some of the Talents that can enhance your magical abilities and help you focus on your preferred approach:
- Inspiration: Casting a Chaos Spell gives you a 5% chance to grant 1 stack of Freecast. This chance increases by 0.1% for each percent of your missing Mana. Freecast makes your next spell cost no Mana. For channeled Spells, this effect lasts for the first 2 seconds.
- Cripple: Increases your Weakness Chance by 5%. It also increases the Slow effect of your Weakness status, boosting it to 40%. This is ideal for weakening enemies and making them more vulnerable to your magic.
- Chaotic Rejuvenation: Applying Weakness to an enemy restores 10 Mana. This effect has a 1-second cooldown. It's a great way to keep your Mana pool topped off while applying powerful debuffs to your foes.
- Unstable Trail: After Evading, leave behind a shadowy mark on the ground for 10 seconds. When enemies come into contact with it, the mark explodes, dealing 80 Chaos damage in a small radius. This effect has a 10-second cooldown. It's perfect for setting traps and adding extra damage to your evasive maneuvers.
- Chaos Tentacles: Casting a Chaos Spell has a 15% chance of summoning chaotic tentacles behind the nearest enemy. These tentacles pull enemies toward them and deal 10 Chaos damage per second to affected enemies. This talent helps to control the battlefield, pulling enemies in while dishing out continuous damage.
Mixing Elements
Last, but certainly not least, with 2 Weapon Sets available, you can further tailor your build to your playstyle by switching to a Fire Relic and using Fire Spells. Fire Spells deal impressive damage and scale with your Power attribute, allowing you to set enemies ablaze with similar efficiency as your Chaos abilities.
However, before you can set everything around you in flames with the help of a Fire Relic, you’ll need to unlock Fire Mastery, the Starting Node in the Talent Tree for the Flameweaver Class, one of the six Classes in the full game.
In the meantime, here’s a sneak peek at some key Talents for a Chaos-Fire mixed build:
- Shadow Burn: Your Weakness effects now amplify the target's Fire damage taken. Additionally, applying a Weakness or Burn effect has a 15% chance of applying the other one as well.
- Shadowmelt: Your Chaos damage now deals an additional 5% damage as Fire, and your Fire damage deals an additional 5% damage as Chaos.
…And these are just a couple of the exciting Skills and Spells you can expect to use as you delve deeper into the world of Mandragora!
•────────────────────────────•
We hope you enjoyed this Dev Diary entry! As we get closer to the release of Mandragora on April 17, 2025, we’re excited to continue sharing more details with you. Do you have any thoughts or questions about the different playstyles? Let us know over on our Discord server!

.webp)